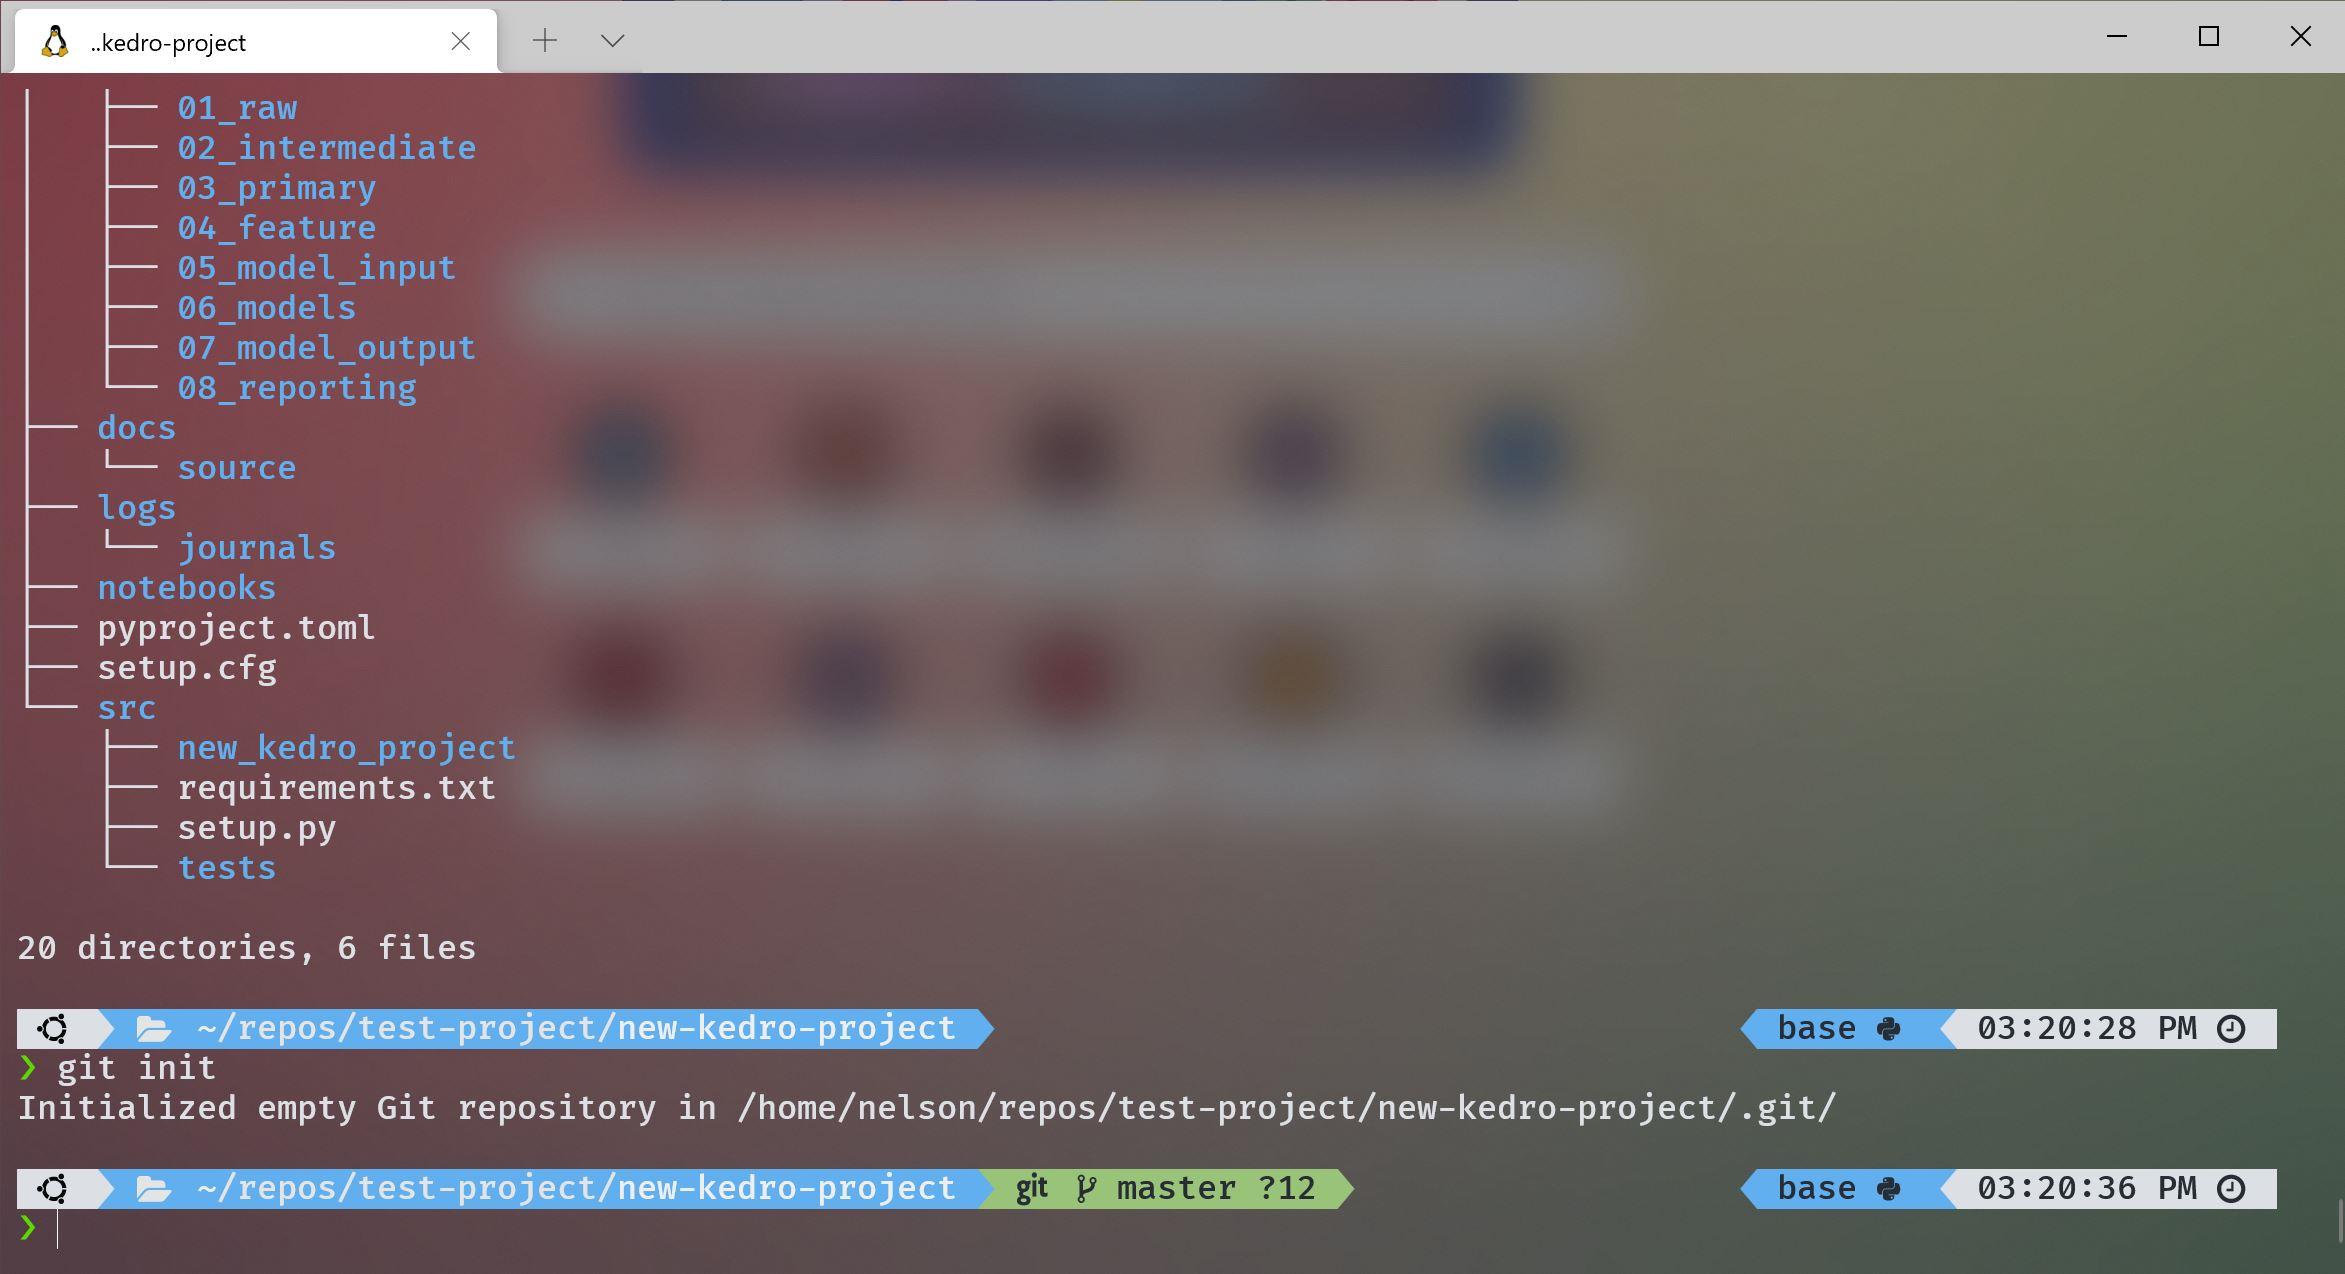
I spent half an afternoon playing around with WSL2 since I’m considering switching from Mac to PC for work, primarily due to my work’s heavy reliance on the MS SSAS Tabular models as the ‘system of the truth’ for our data analysis. You can query these models through python with a little work on a Windows PC but I couldn’t get all of the dependencies to work on my Mac.
So here we are. I’m saving this as my checklist of making a decent dev environment using WSL2 where I can do a lot of my ad-hoc analysis in Python/Julia.
Here are my requirements:
- I primarily do data analysis in Python using Jupyter Notebooks and VSCode
- I need to be able to write Markdown docs and preview LaTEX in Markdown
- I need an installation of Julia for side projects and light data work, primarily in Jupyter Notebooks or via the REPL
Installing WSL and Linux Distro
Follow the official docs from Microsoft to enable WSL2 and install a Linux distribution. I tried both Debian and Ubuntu and chose Ubuntu from the Microsoft Store.
- WSL Installation Instructions
- Windows Terminal
- I use One Half Dark Theme with Acrylic
Download and Install Fonts
I downloaded these manually as .ttf files in Windows since we’ll be using them in windows programs (VSCode, Windows Terminal).
Set up Zshell
Let’s switch from bash to zshell, grab oh my zsh, download fonts, set up Powerlevel10k.
# Update apt-get if this is a fresh Linux distro install
sudo apt-get update
# Install Git
sudo apt-get install git
# Install Zshell
sudo apt-get install zsh
# Install oh my zsh
sh -c "$(wget https://raw.github.com/ohmyzsh/ohmyzsh/master/tools/install.sh -O -)"
# Install powerlevel10k
git clone --depth=1 https://github.com/romkatv/powerlevel10k.git ${ZSH_CUSTOM:-$HOME/.oh-my-zsh/custom}/themes/powerlevel10k
# Install tree
sudo apt-get install tree
If you run into trouble:
Add personal macros
touch ~/.personal_macros
echo 'source ~/.personal_macros' >> ~/.zshrc
echo 'alias open="explorer.exe"' >> ~/.personal_macros
Programming Languages
After the shell’s installed, time to add Python through Conda and Julia.
Miniconda
I will use Miniconda just for the package and environment management, don’t need the rest of the Anaconda stuff.
sh -c "$(wget https://repo.anaconda.com/miniconda/Miniconda3-latest-Linux-x86_64.sh 0O -)"
sh Miniconda3-latest-Linux-x86_64.sh
Julia Setup
For julia install we’ll use the jill.py method which is a community supported cross-platform way to simply install the latest version of Julia. Handles symlinks so you don’t have to futz around with PATH and all the other frustrations with getting started.
pip install jill --user -U
echo 'export PATH=$PATH:/home/$USERNAME/.local/bin' >> ~/.personal_macros
source ~/.zshrc
jill install
Helpful to install a few common packages all at once in Julia. Open up Julia, hit the ] key to go to Pkg management mode and:
(@v1.6) pkg> add Plots Gadfly DataFrames XLSX CSV RDatasets Parquet Pluto IJulia DataFramesMetaVSCode
Now, it’s finally time to add VSCode for Windows
- Download VSCode
- Set Fonts (FuraMono Nerd Font)
- Follow the recommendations for extensions, but add:
- Markdown Preview Enhanced
Original Inspiration
Credit: John Woodruff’s Far More Epic Development Environment Using WSL2